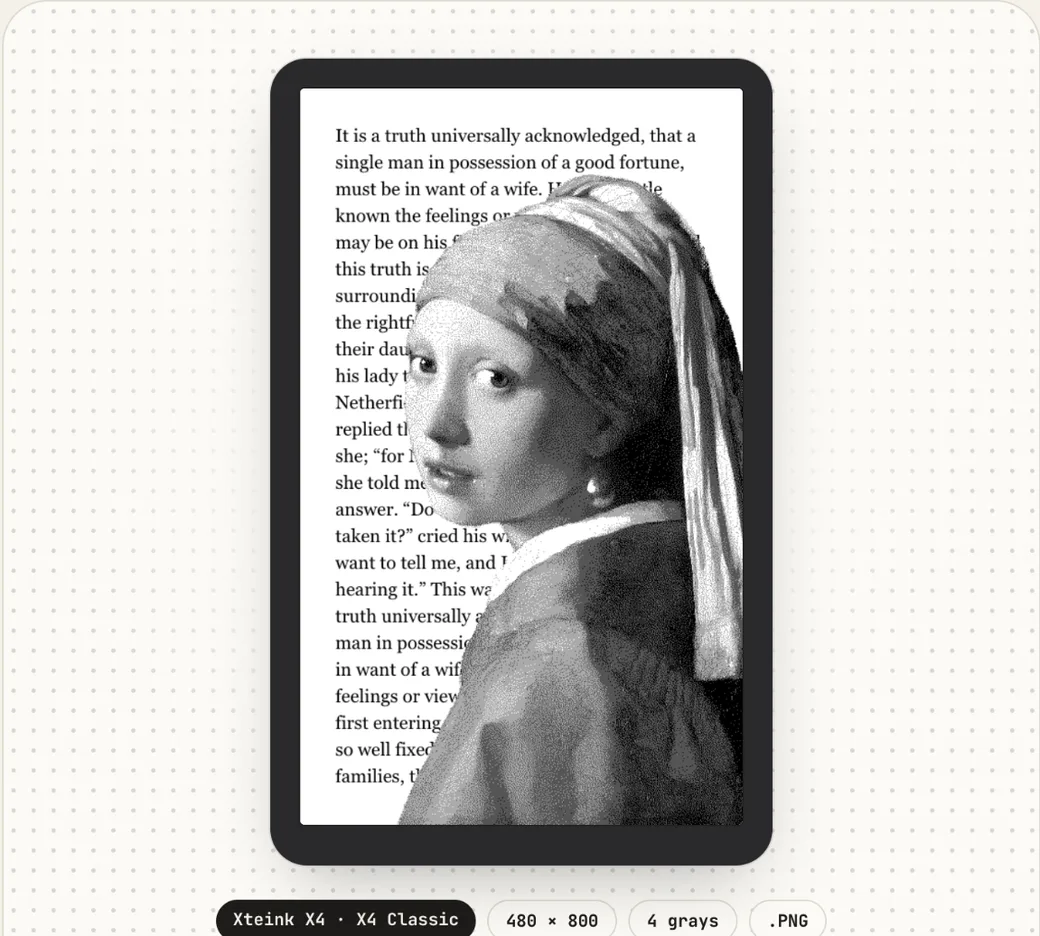
A normal sleep screen replaces whatever was on the display. CrossPoint 1.6 added a second option: a transparent image drawn on top of the page you were reading when the reader went to sleep. A cat sitting on your book, a portrait peeking in from the side, a quote across the bottom margin. CrossInk, the CrossPoint fork, has the same feature.
What the file has to be
- A PNG with transparency. Fully transparent pixels leave the page showing. Everything else is drawn, including white.
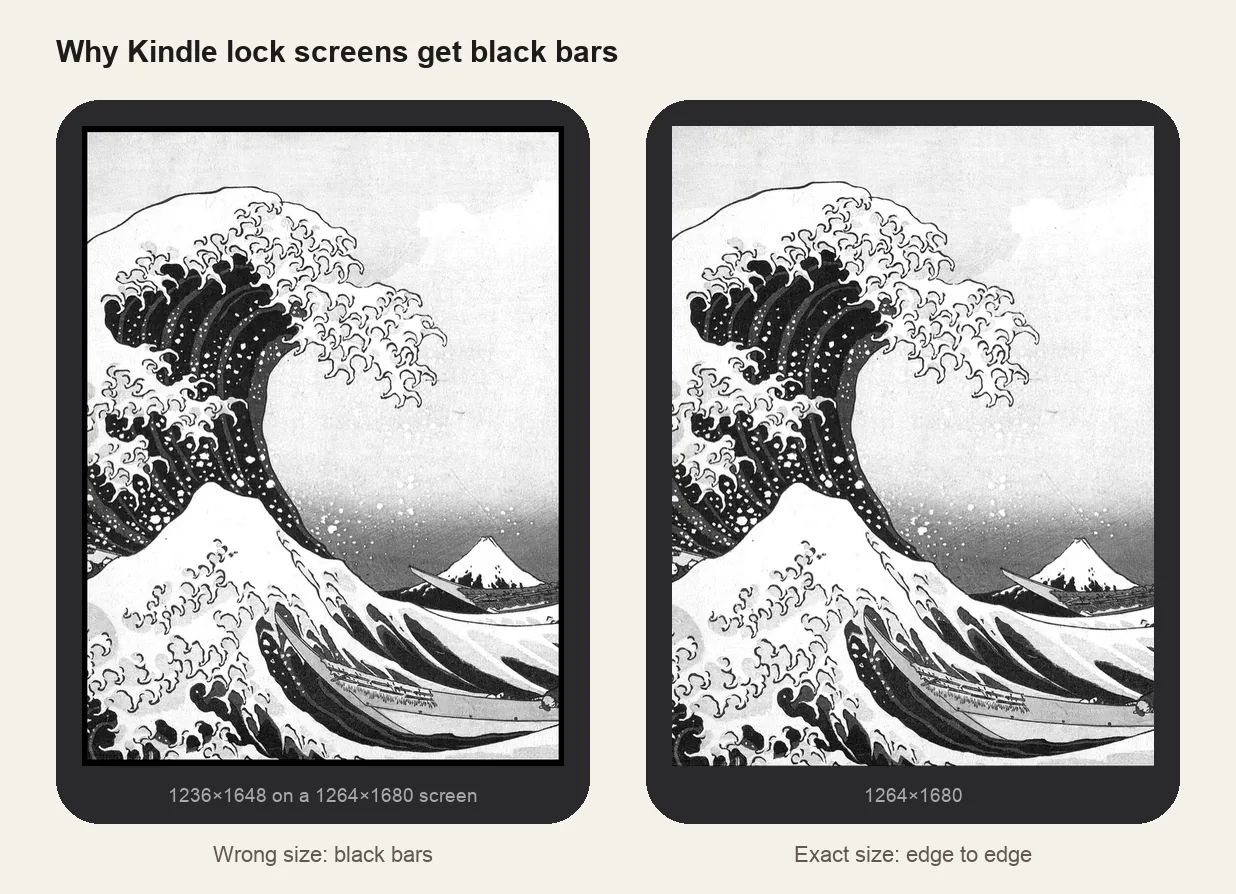
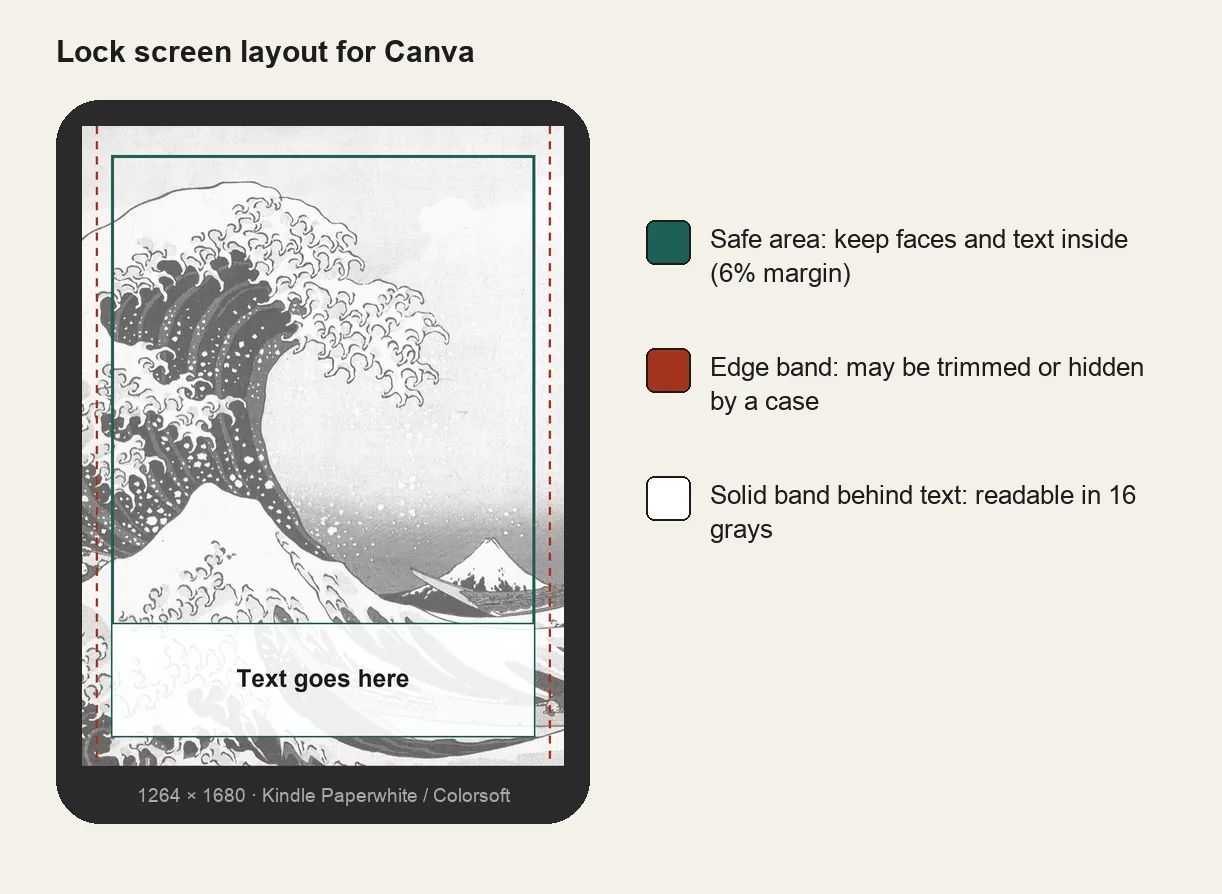
- The screen size: 480×800 for the X4 and X4 Pro, 528×792 for the X3, in portrait. Other sizes get scaled.
- 8 bits per channel. CrossPoint skips 16-bit PNGs. Most editors save 8-bit unless you tell them otherwise.
Opaque white is the part that catches people out. In a normal sleep screen white is just paper. In an overlay, an opaque white pixel paints over the text under it. If your cut-out has a white halo, that halo will wipe out a ring of letters. Erase the background so it is actually transparent, not white.
Plain BMPs also work, with a different rule: white counts as transparent. That's fine for black line art, but any white inside the picture (eyes, a collar, a highlight) will show the page through it. For photos and artwork, use a PNG.
Soft edges turn into dots
The panel can't show a pixel at 40% opacity, so CrossPoint turns partial transparency into a fixed dot pattern: the more opaque a pixel, the more likely it is drawn. A feathered edge becomes a speckled ring around your subject. That can look nice on hair and fur. If you want a clean outline, keep the edge hard, or check it in a preview that applies the same pattern.
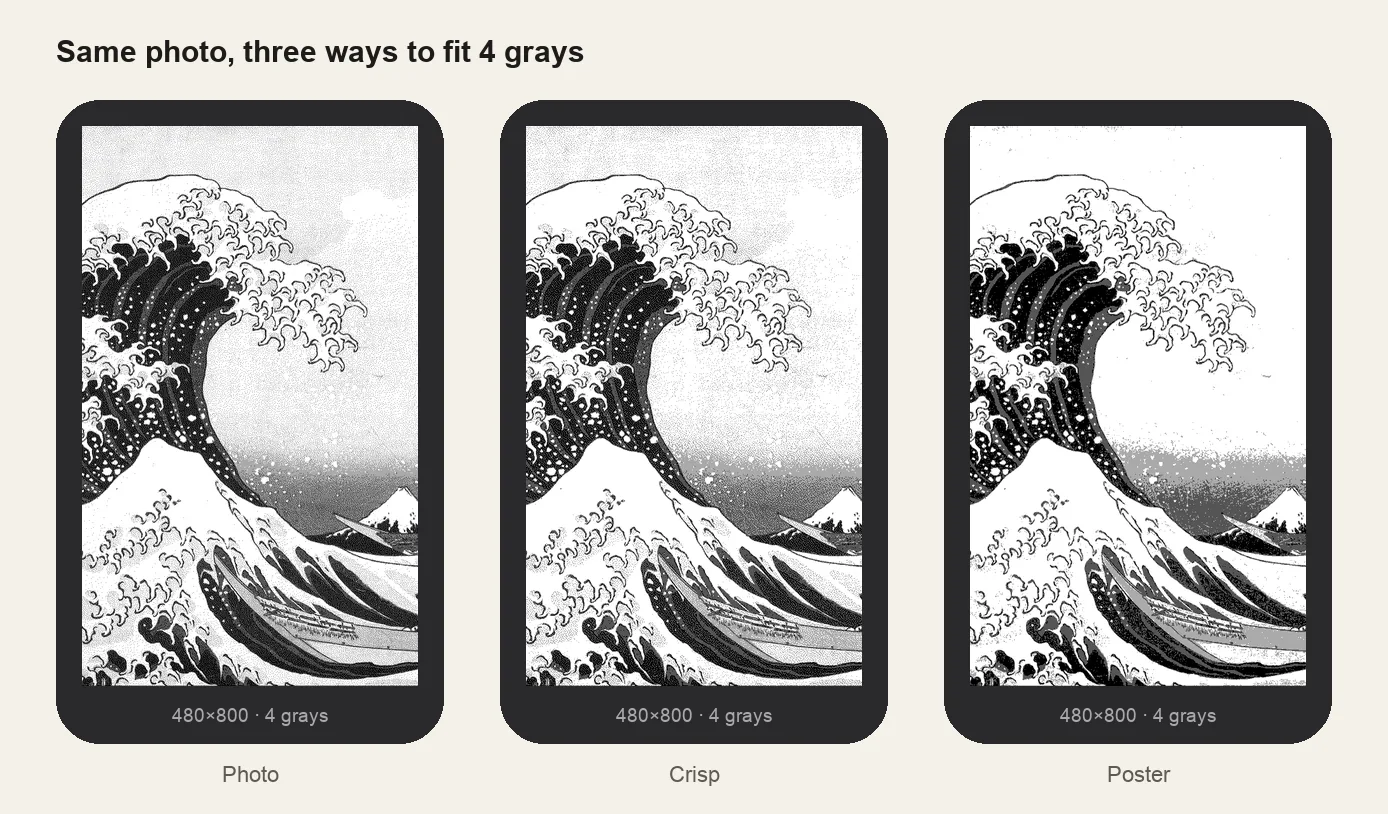
The colors themselves aren't dithered for you. Reduce the picture to the panel's 4 grays before you save it, or let the Xteink converter do it.
Where to put it
- One overlay:
sleep-overlay.pngin the root of the SD card. - Several: a folder named
.sleep-overlayin the root (sleep-overlayalso works) with the PNGs inside. CrossPoint picks one at random each time the reader sleeps.
Overlays live apart from normal sleep images, so your sleep.bmp and .sleep folder stay as they are. If both a root file and the folder exist, the root file wins. A root sleep-overlay.bmp wins over a root PNG.
Turn it on
Open Settings → Display → Sleep Screen and choose Transparent. Open a book, then press the power button. If CrossPoint can't find a usable overlay, it falls back to the dark sleep screen, which is a quick way to tell that the file or folder name is off.
Making one with einktools
- Open the Xteink converter and pick your model.
- Upload a picture and press Remove background. It runs in your browser; nothing is uploaded.
- Under Fit, set the paper to See-through. The preview now shows your picture over a sample page, with the same dot pattern CrossPoint uses for soft edges.
- Drag the picture to one side or the bottom so the text you care about stays readable, add a caption if you like, and download
sleep-overlay.png.
Keep background is worth a try too: instead of erasing the background it fades it, so the overlay keeps a light texture behind the subject. On the device that texture becomes dots, which reads as a soft vignette over the page.
If it doesn't work
- Dark screen instead of your overlay: check the name (
sleep-overlay.png, all lowercase) and that the PNG is 8-bit. - The whole page is covered: the PNG has no transparent pixels. It was probably saved with a white background.
- Letters missing around the edge of the picture: a white or near-white halo. Remove the background again and raise Strength, or erase the fringe in an editor.
- No Transparent option: you're on stock firmware or a CrossPoint older than 1.6.
- X4 Pro shows it in black and white: some X4 Pro batches have no grayscale. Choose the Ink look so the preview matches.