The Xteink X4 and X3 can show your own picture whenever they go to sleep. The device is picky about the file, though. It wants an uncompressed BMP at the screen's exact size, and the panel only has four shades of gray. Get those two things right and it takes two minutes.
What you need
- A picture: a photo, a book cover, artwork. Portrait pictures crop best.
- The microSD card that came in your Xteink, plus a way to copy files to it (a card reader, or the Wi-Fi file transfer in CrossPoint).
- About two minutes.
1. Make the BMP
The file has to be:
- BMP, uncompressed, 24-bit. JPG and PNG are ignored for custom sleep screens.
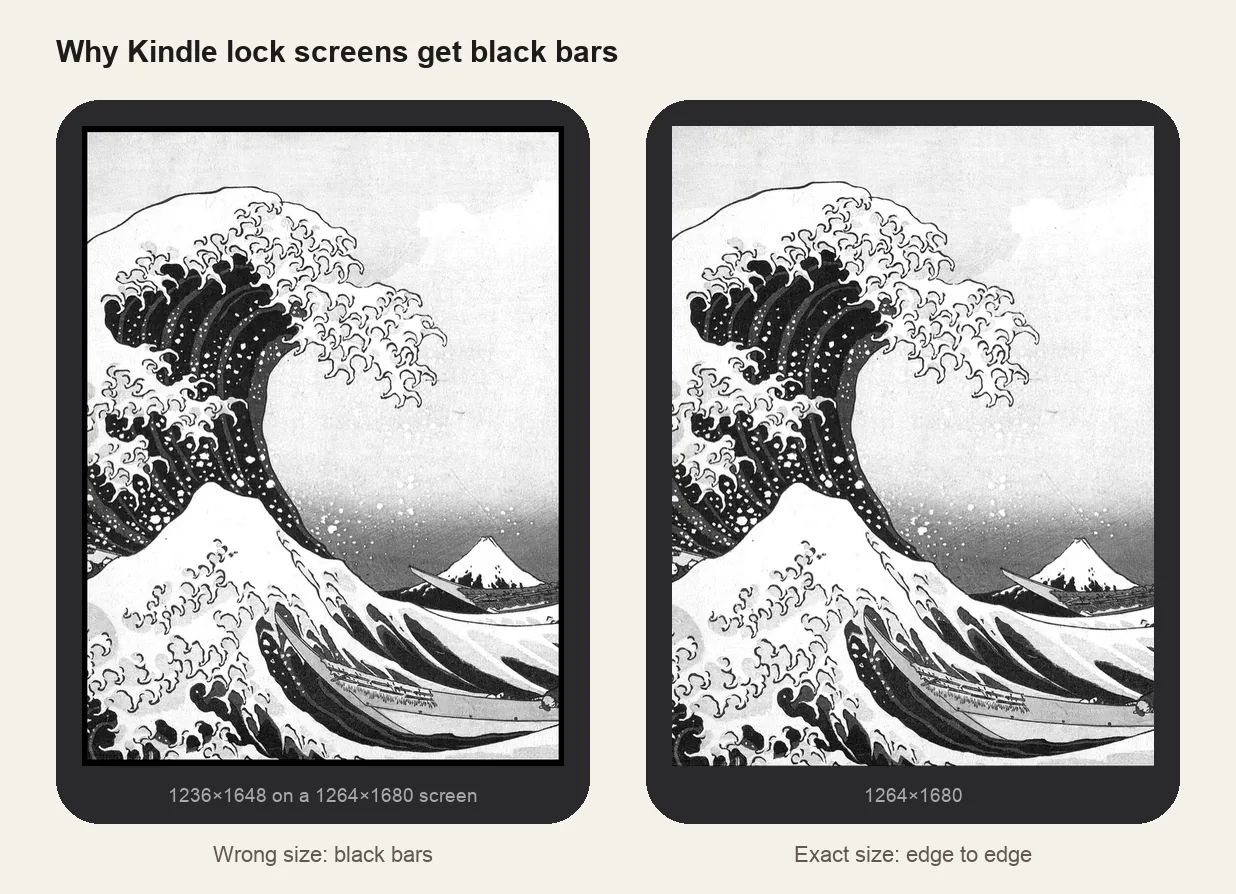
- 480×800 pixels for the X4 (including the X4 Pro), 528×792 for the X3, in portrait.
The Xteink wallpaper converter does both, and also reduces the picture to the panel's 4 grays with dithering, so you can see the real result before copying anything. Name the file sleep.bmp.
2. Copy it to the SD card
- One picture: put
sleep.bmpin the root of the card. - Several pictures: create a folder named
.sleepin the root (a folder namedsleepalso works) and put your BMPs inside. One is chosen at random every time the device sleeps. A rootsleep.bmptakes priority over the folder.
3. Switch the sleep screen to Custom
Open Settings → Display → Sleep Screen and choose Custom. On CrossPoint there is also Cover + Custom, which shows the current book's cover while you're reading and your picture the rest of the time. Press the power button to check it.
If it doesn't show up
- You see the default logo: the file isn't named exactly
sleep.bmp, isn't in the root, or Sleep Screen isn't set to Custom. - Borders or a squashed picture: the BMP isn't 480×800 (X4) or 528×792 (X3).
- Muddy or blotchy: the photo had too little contrast for 4 grays. Raise contrast in the converter and try the Crisp or Poster look.
- Hidden folder: on macOS and Linux, folders starting with a dot are hidden. Use
sleepwithout the dot if that's easier.